As artists, a proverb we often hear is “imitation is the sincerest form of flattery.” Oscar Wilde expounded on that original quote by Charles Caleb Colton by adding “…that mediocrity can pay to greatness.” Cynicism aside, the irony of Mr. Wilde’s statement — probably not missed by him — is that we build (and he built) on others who came before us (or him). For example, photographers who don’t try to imitate Ansel Adams or Henri Cartier-Bresson, miss out on learning techniques for landscape compositions and exposure, or the spontaneity needed to capture the decisive moment, respectively. Building on these fundamental foundations is essential to grow beyond our current capabilities.
Yet, in this age of social media, where everyone with a cell phone is a photographer, working photographers are often hounded by the demons of originality and attention. That is, how do we produce new content that is fresh and original and that will get us noticed? When I am in a rut I often turn to photographic techniques that jump start my creativity. One such technique is called the Orton Effect.
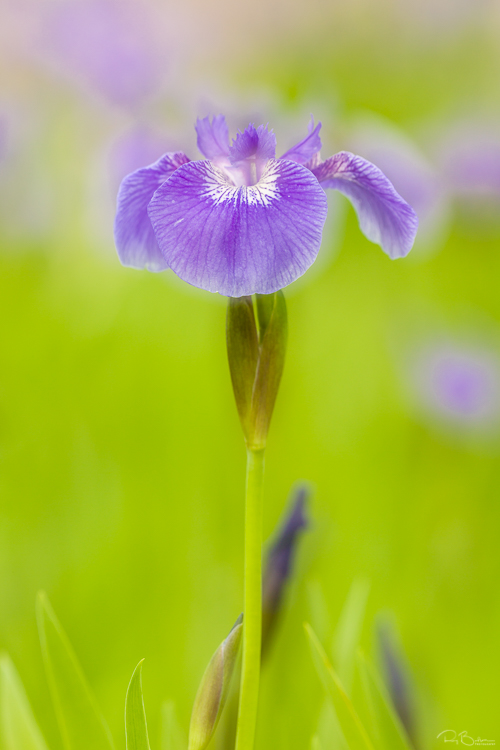
The Orton Effect is named after Michael Orton, a photographer from Vancouver, Canada. He developed the technique in the 1980s working with film as the media, in this case, slide film. What he did was to take two photos of the same subject. In one photo the subject was in sharp focus, and in the other, it was intentionally out of focus and blurry. Both photos were overexposed by one stop so that when he sandwiched the two slides together, the composite exposure was just right. The result, as you can see in the lead image, is a soft glow from the blurry slide that surrounds the sharp image. It was originally done for flowers, but it can also be done for landscapes. [Visit michaelortonphotography.com to see Michael’s photography.]
With digital photography we now have a couple ways of doing the Orton Effect, either in-camera through multiple exposures, or in post-processing with Photoshop. Visit raybulson.com/orton-effect-webinar for detailed demonstrations on how to do the Orton Effect in Photoshop.
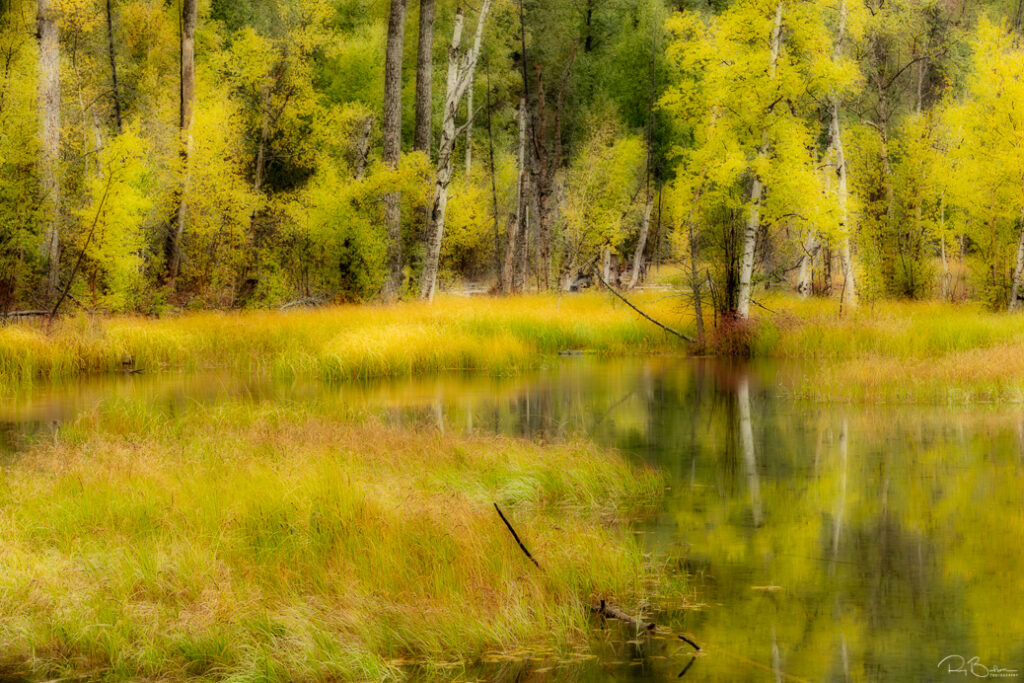
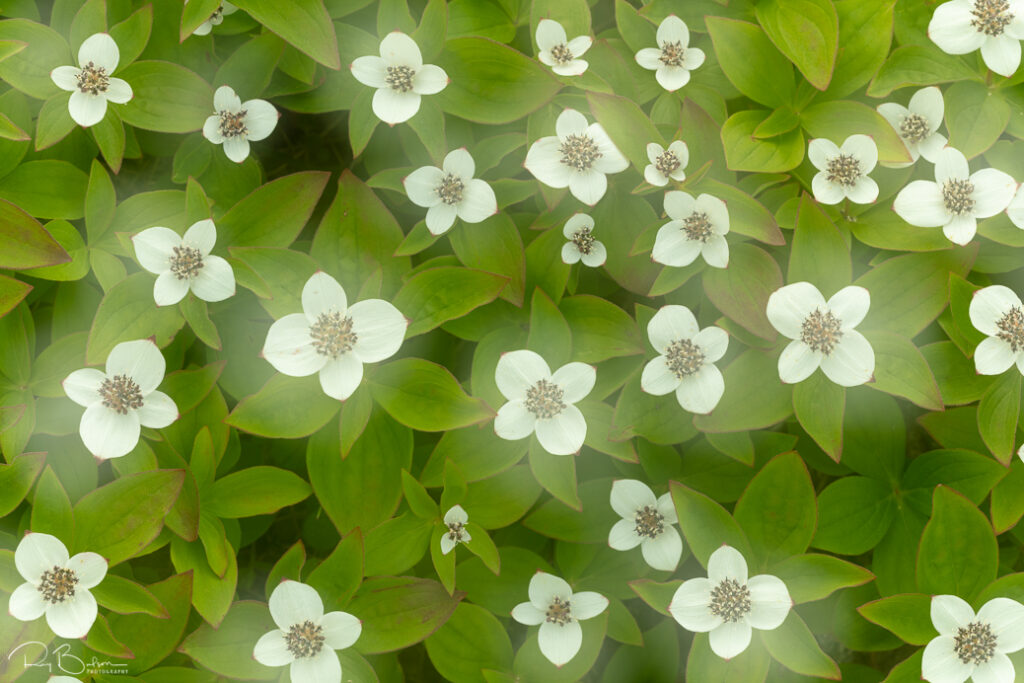
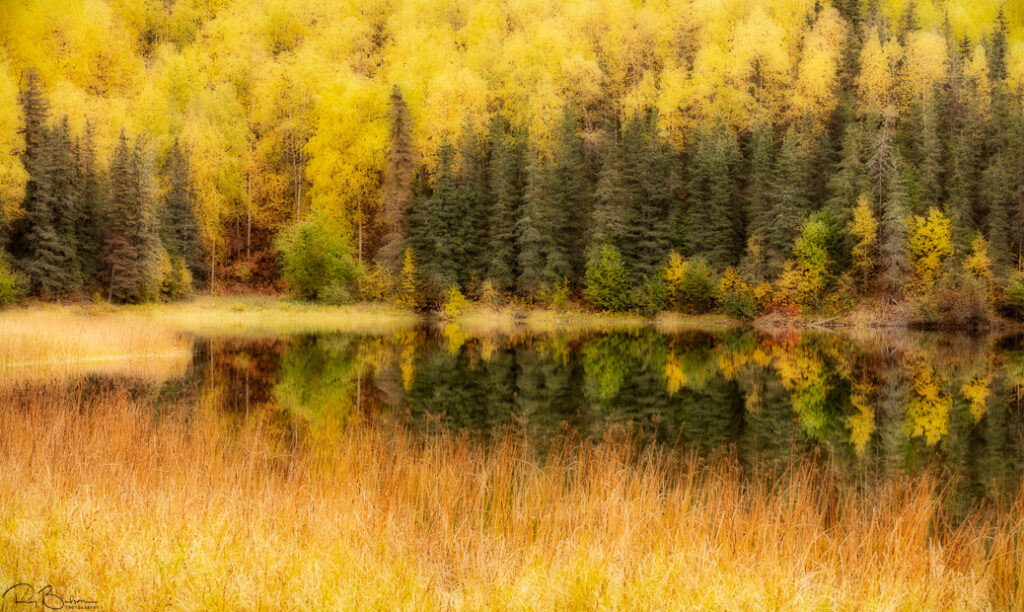
Below are several examples of Orton imagery done in-camera and in post-processing. Both ways add a creative element to your photography in that you don’t know beforehand how an image will turn out. The look is unique and fresh even if the light or subject matter is not. I particularly like doing this in post-processing because you don’t need to go out in the field to produce new photos. In many case old images can be transformed into something better than the originals. So the next time you are in a creative rut try an old technique to rejuvenate your photography.